


Tips & Tricks: Advice On Choosing A DSLR Camera
Tips & Tricks: Advice On Choosing A DSLR Camera
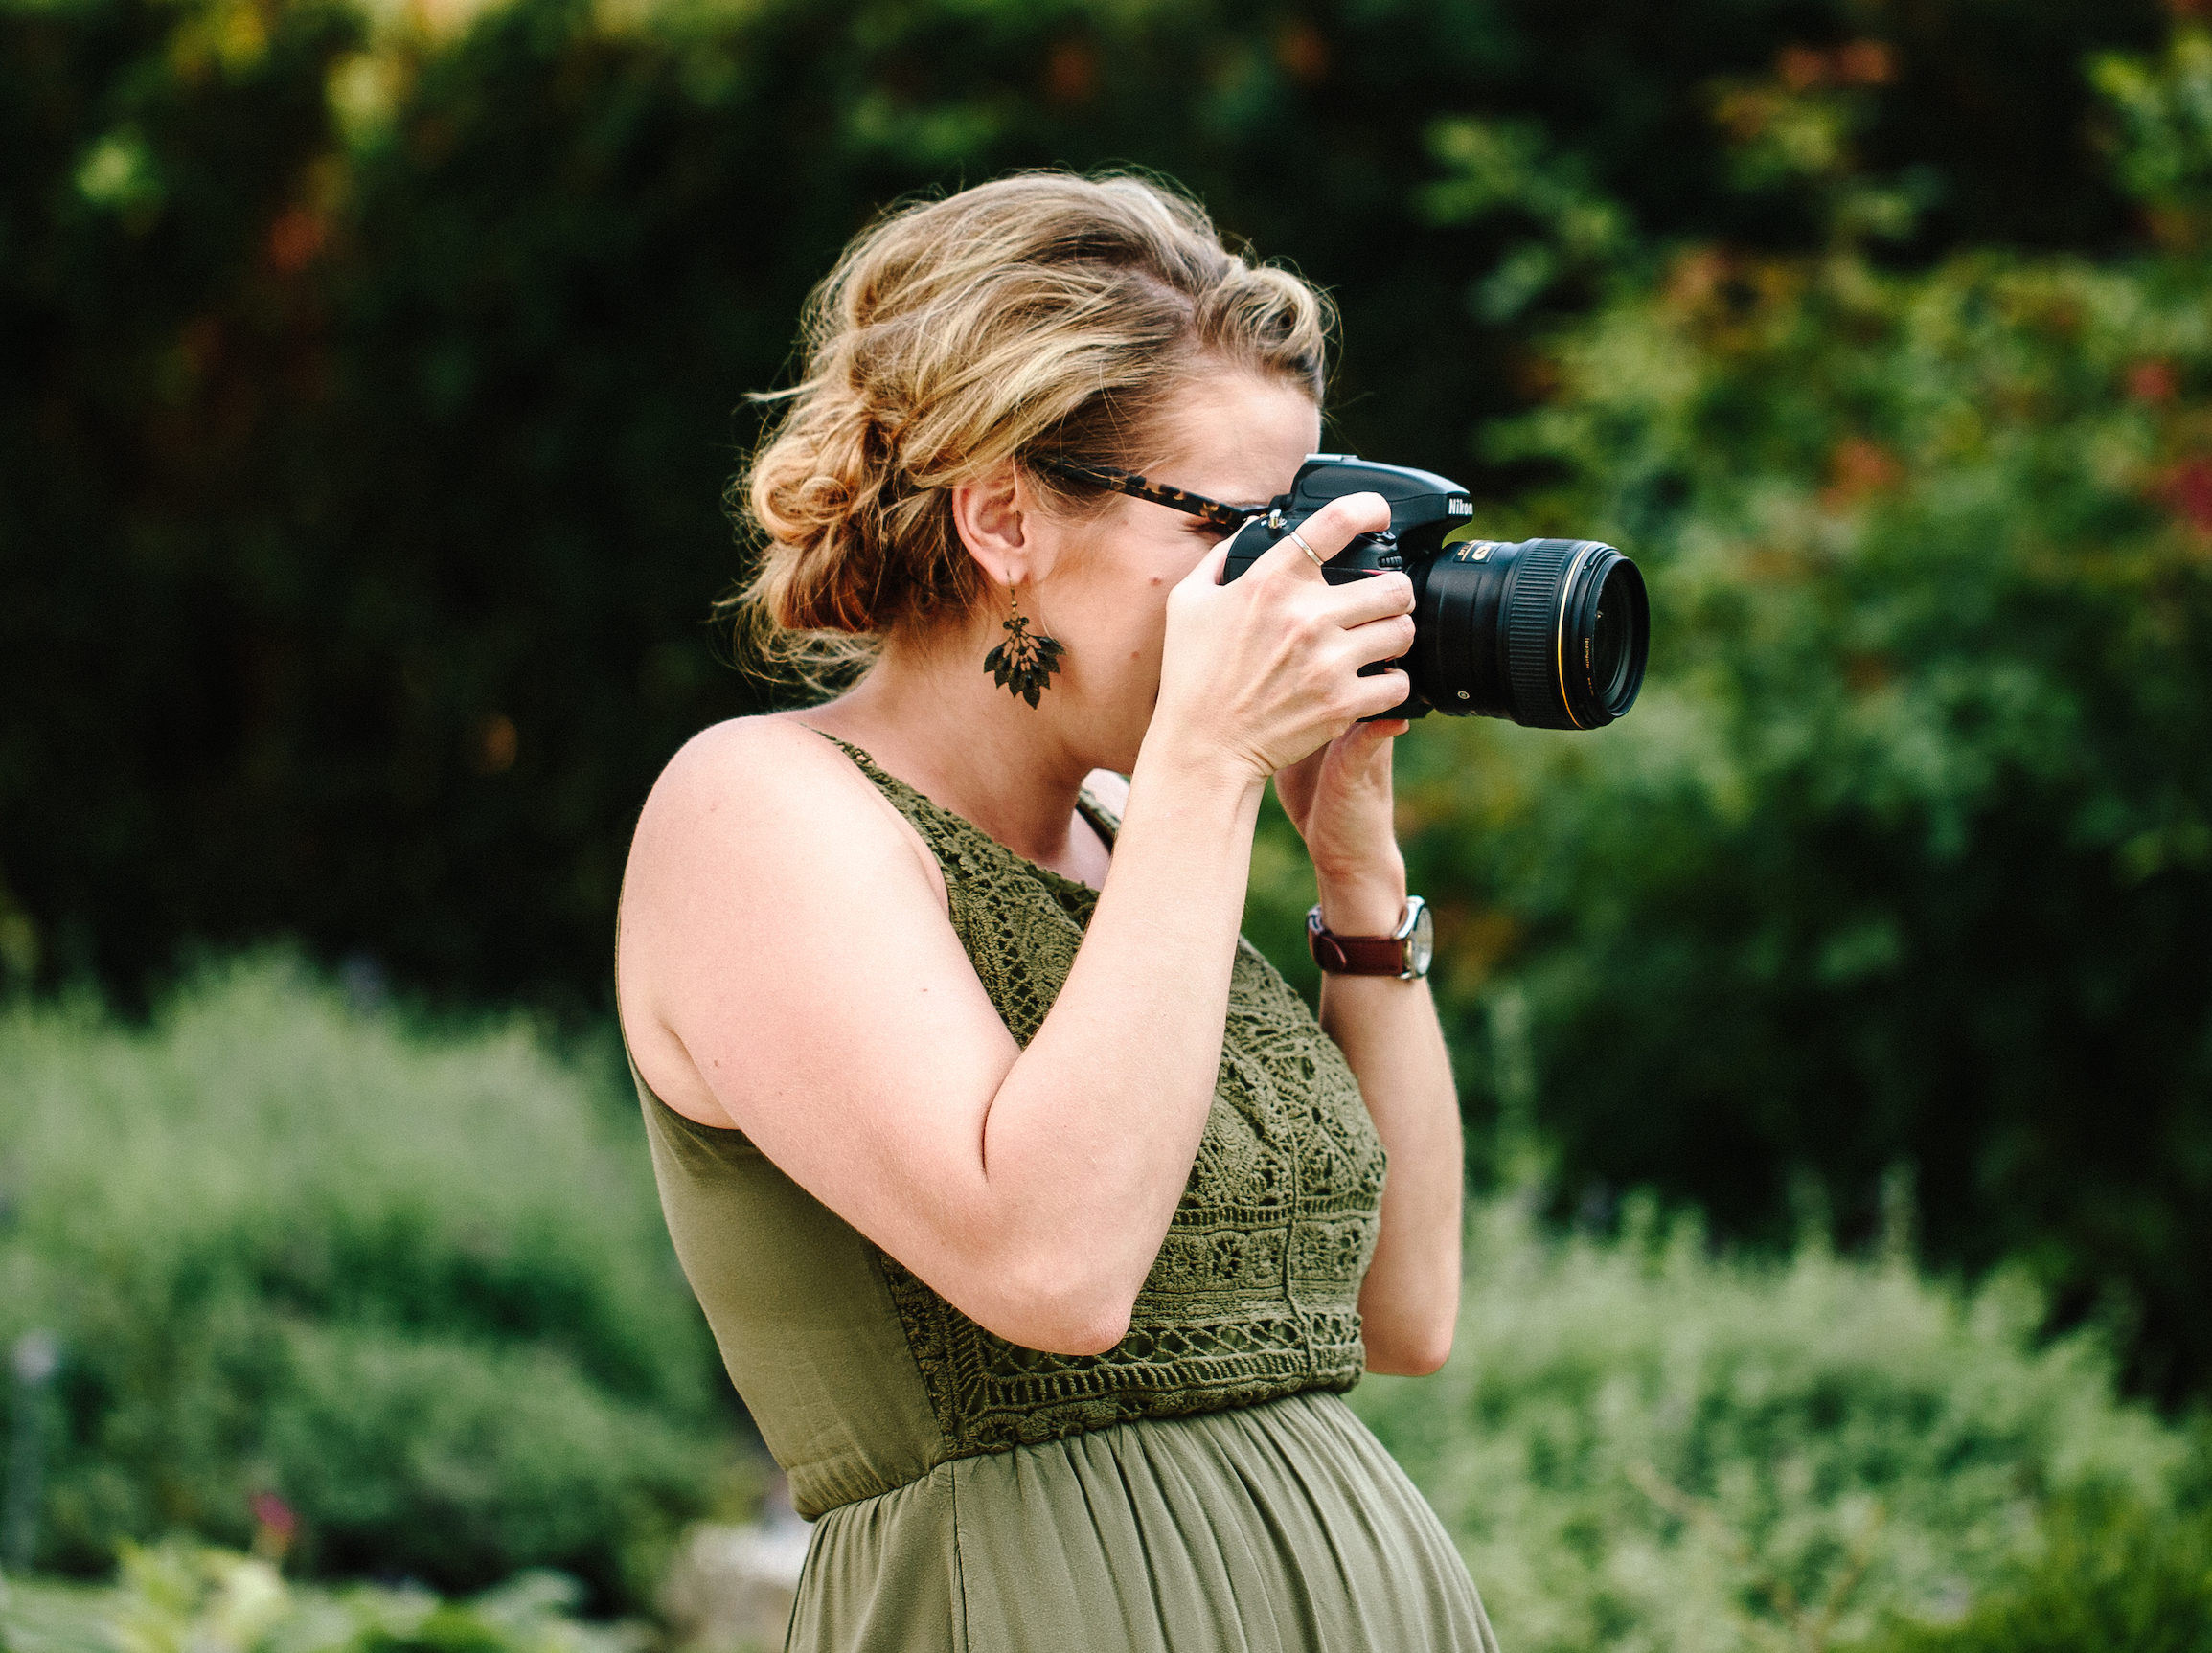
I began to realize that lots of people out there are interested in investing in more than a point-and-shoot camera to capture their memories when I started receiving countless emails asking for advice on how to go about picking one. Choosing a DSLR camera can be stressful, especially when you are unsure of what all the details mean! The mention of “megapixels” alone is enough to make you start sweating when you don’t know what a megapixel even is, and now you’re supposed to know which lens you should pick to go with it?! It can be overwhelming, to say the least. So, I figured I’d write a blog post to hopefully help you out with the decision making process! Investing money into a nice camera can feel scary, but once you decide which camera is the best fit for you, you’ll be well on your way to capturing fantastic photos that you love! Here are some of my suggestions on things to consider when you are in the market for a DSLR:
1) Set your budget.
It will take you about two seconds of browsing the DSLR camera options to realize that you can spend hundreds of dollars, or you can spend thousands of dollars. You have to sit down and think about how seriously you are taking this whole camera thing. No matter how expensive your camera is, it will only take quality photos if you learn to use it. Keeping your camera set on AUTO will not give you the pictures you are hoping for. Great photos are a result of MANUALLY controlling your camera, which takes time and effort to learn, just like anything. My suggestion is never to buy the most expensive model on the market right away, because if you don’t learn how to actually use it, then you are wasting your money. The best quality camera there is might not be the best fit for you as you are just beginning to learn! You want something you can grow with! There are tons of beginner level DSLR cameras on the market that won’t cost you a fortune, so I would start with something along those lines. Once you learn how to use it, you can determine if you want to invest more into your equipment down the road. Begin small, and grow from there!

2) Do some research.
Please, please, please do not decide that you’d like to buy a nice camera, walk into Best Buy, and leave with the DSLR they told you to purchase. Do some research on your own! Take the time to sit down at a computer and read some reviews on the models out there. I think one of the smartest things you can do before purchasing any kind of equipment is to read the reviews on it! If you just buy the first camera you come across, you may find that the menu is not very user-friendly and a little confusing. Well I can almost guarantee that if you look up reviews on that camera, you’ll find that a lot of people feel the same way that you do about the confusing camera menu. If you look into what people have to say about a product beforehand, you can will definitely find the camera that is the best fit for you. I always read customer reviews before purchasing any new piece of equipment. I also refer to Jared Polin of Fro Knows Photo, who does in-depth and honest reviews on every piece of camera equipment that is out there! And he explains things in a way that is easy to understand. It’s worth it to take some time to research instead of just buying something on a whim that you might regret later.
3) Don’t get stuck on the brand.
The big question everyone loves to ask is “Nikon or Canon?” Believe it or not, there are more than two camera manufacturers in the world! I personally shoot with Nikon equipment, but really that is just because that’s what I started out with and that’s what I’ve always used and love. At this stage in the digital camera game, I don’t think there’s really any one company that is superior to all the others. Canon photographers love their Canon equipment! There’s Sony, Olympus, Pentax – tons of great camera manufacturers to choose from. These companies all make cameras that are comparable to each other, and they make cameras in every price range – from great starter cameras to professional grade equipment. So don’t think that purchasing an Olympus DSLR instead of a Canon DSLR means that you’re buying a lesser-quality camera. It’s 2018, so the playing level is pretty even in the camera world!
Here are some examples of great beginner level camera bodies! Click on the links and you can read more about each one. ***Please note that I have never used any of these cameras personally! These recommendations are simply based off of internet research and user reviews.
4) Pick your lenses.
Wait a minute, you mean there’s different lenses to pick from too?? Yep! Most entry-level DSLR cameras typically include a kit lens, the most popular being the 18-55mm 3.5. There is nothing wrong with this lens at all, however once you become familiar with your camera you will likely find that this lens is not giving you the exact result you are hoping for. For example, if you find that you want to be taking portraits of your family that have a more shallow depth of field (ie: the “blurry background” effect), then you will need a portrait lens with a wider aperture range to allow you to do this, such as the 50mm. I always explain it as a 50/50 combination: taking great photos is half the camera body, half the lens you are using, and most importantly, knowing how to use them together. So start learning how to use your camera with the lens that is included, and once you get that down pat you can start looking at lenses that allow you to do different things!
My two favorite lenses that I would HIGHLY recommend to anyone looking to take a step further than their kit lens are the 50mm 1.8 and the 35mm 1.8. One of these two lenses is on my camera the majority of the time! I would be lost without my 50mm. It is an incredible portrait lens that allows you to capture incredible depth of field (aka the blurry background) and it is fantastic in low-light situations! Same goes for the 35mm! The 35 is wonderful for everyday photography.
5) Educate yourself!
You have a camera body, and you have a lens, and now you need to learn how to use them! Along with learning the ins and outs of your equipment, understanding good lighting and the difference it makes in your images is invaluable! Learning how to manually capture great images is not something that is going to happen overnight. You have to understand shutter speed, ISO, and aperture, and most importantly: how these three elements work together to create an image. Buying a camera does not mean this information will just magically make sense to you, it takes a little bit of effort! Just like in school, you had to study multiplication tables to learn them. You had to study the periodical table to learn it. You had to study vocabulary to learn the meanings of words. You have invested in a great tool, and with a little practice you can learn to use it! The payoff is so worth it, I promise! With the help of your camera manual and Youtube tutorials, you can learn everything you need to know about your new camera! Capturing quality images of your life, your loved ones, and your memories is worth it!
***If you are interested in a one-on-one coaching session with me to learn more about your camera and shooting manually, you can find more info here!

6) External Flash
When you are shooting outdoors or indoors during the day, you won’t need to use your flash. However there are certain situations where a flash is necessary, and the flash on the front of your camera is not ideal. If you need to use flash, an external flash that attaches to the top of your camera will give you the best results. The easiest way to explain why is that when you use the flash on the front of the camera, it is firing directly at your subject, which doesn’t typically produce a very flattering result. Even with a nice camera, the resulting image can look like a standard snapshot that someone took on their phone. With an external flash, you can create directional lighting – the big difference maker! Bouncing your flash off of the ceiling or a wall instead of directly in the faces of your subject creates a much more flattering image, without blinding your subject.
7) Editing Software
Editing your photos is not a totally necessary step, but it might be something you want to look into. I am a believer in very minimal editing, so I primarily use Adobe Lightroom to edit the exposure, white balance, brightness, etc of my images. You can accomplish simple editing in programs like iPhoto, so don’t feel like you HAVE to invest in an editing software right when you purchase a camera! If you want to get really crazy with editing, you can learn how to use Adobe Photoshop, which lets you do pretty much everything under the sun!
I hope this post helps you in choosing a camera that’s right for you! If you have any questions, I would love to help you out! Leave a comment in the box below, or you can email me through the contact page!
Thanks Carly!!! I was just talking to my friend Sue Ramdin about troubles I’m having with selecting the best settings on my camera. I am wanting to get the best out of my cannon dslr and am in the market for a new lens!,, thank you so much for your information!! I will use your advice and research before buying!! Sad you are so far away, I need someone for my daughters senior pics this year!!
Monique