Tips & Tricks: How to Shoot in Direct Sunlight
A common misconception that a lot of people have about taking photos is that MORE light = better. Well, that is not true! The amount of light available is not the most important factor, it is the quality of the light and the position of the light source (which is usually the sun if you are shooting outdoors). I absolutely love portraits that have that warm, glowy feel to them. That doesn’t just happen by accident, I PLAN to shoot at the ideal time of day that will give me the most flattering light. Typically that is either two hours after the sun rises or two hours before the sun sets in the sky. During these times of the day, the sun is positioned low in the sky, not directly overhead. However, sometimes you have no choice but to shoot in the middle of the day when the sun is directly overhead! So although this is not the most ideal situation, there are ways to make the most of it and capture pictures you can still love.
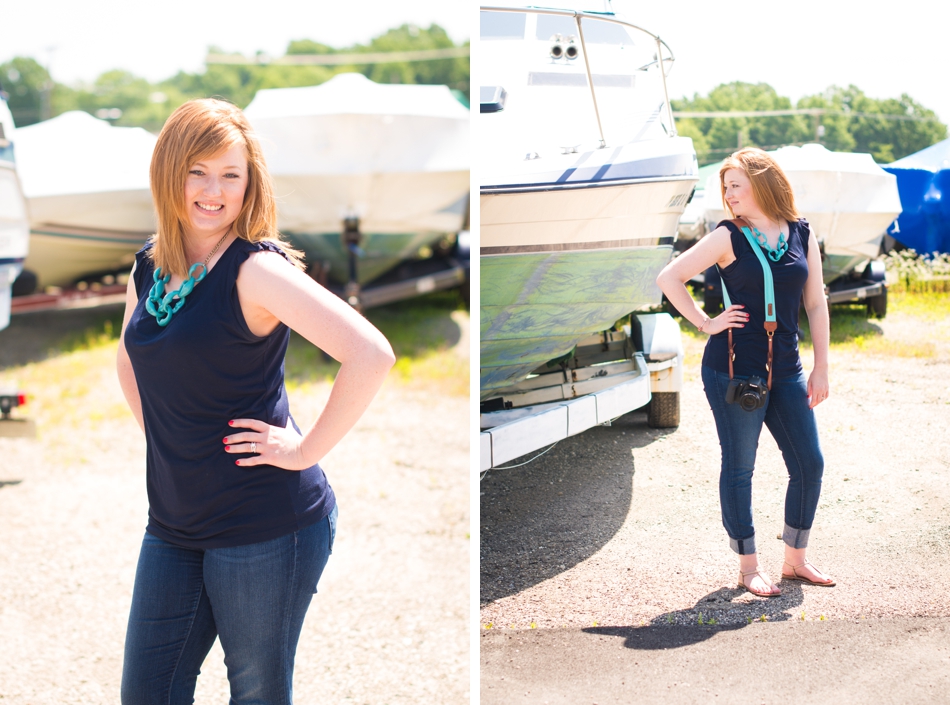
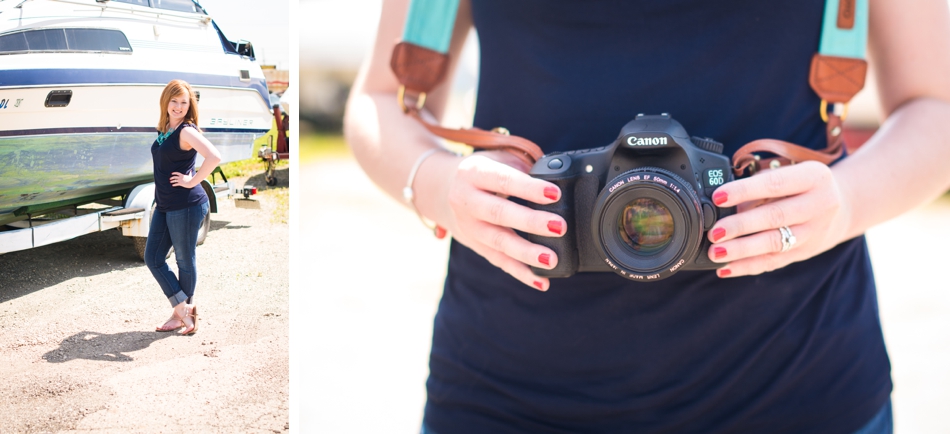
A couple weeks ago Allison and I met for a second coaching session, and it was so great to see her again! We met a few months ago, and I am so impressed to see how much she has learned about shooting manually and creating beautiful portraits! After we sat down and talked camera for a bit, we wanted to go outside and put our skills into practice. By 11 in the morning, the hot summer sun was already high in the sky, giving us a less-than-ideal situation for shooting outdoors. When faced with this dilemma, there are a couple of options: 1) place your subject with the sun slightly behind them and utilize natural reflectors, and 2) seek out open shade. If you look at the photos below of Allison by the boat, you can tell by how her shadow is falling that the sun is almost directly overhead, yet slightly behind her. If we were reversed and I had her looking into the sun, she would be squinting terribly! And there’s nothing worse then seeing your subject squinting at you when you want to take their portrait! I strategically placed her with her back towards the sun and the cement and gravel in front of her to bounce some of the harsh sunlight back to the front of her so that her face is not in shadow. I exposed for her skin, which means that the scene in the background is pretty overexposed, but I am ok with that! I think my subjects are the most important part of my portraits, so I always meter so that their faces are well exposed and I can see all the detail in their skin – ie. they aren’t totally washed out with no detail or underexposed and full of shadows.
My second option if I find myself forced to shoot in direct sunlight is to seek out open, even shade. If there is shade from a tree or a building available, I will make it work!! The key is making sure the shade is EVEN. If you place your subject under the shade of a tree but there are areas where light is spilling through and it falls on your subject, the result will be super overexposed spots that look pretty weird! The shade must be even! Sometimes it may not seem like the best location or backdrop to use for portraits, but good light ALWAYS trumps location. You could have the best, most beautiful location in the world, but if it is high noon and your subject is squinting into the camera with unflattering shadows falling on their face, it is not very likely that you will take a portrait you love. I hope this post helps you out next time you find yourself shooting in direct sunlight in the middle of the day! Whether you are just outdoors with your family snapping photos of your kids, or a photographer taking photos for a client, always remember to seek out the best light possible in whatever situation you find yourself in. Use natural reflectors and open shade, and you can make the most of a not-so-great lighting situation!
This is a great example of making the most out of a terrible location. This gorgeous portrait of Allison was taken on the side of the road by a Giant Eagle, where the only shaded spot could be found!
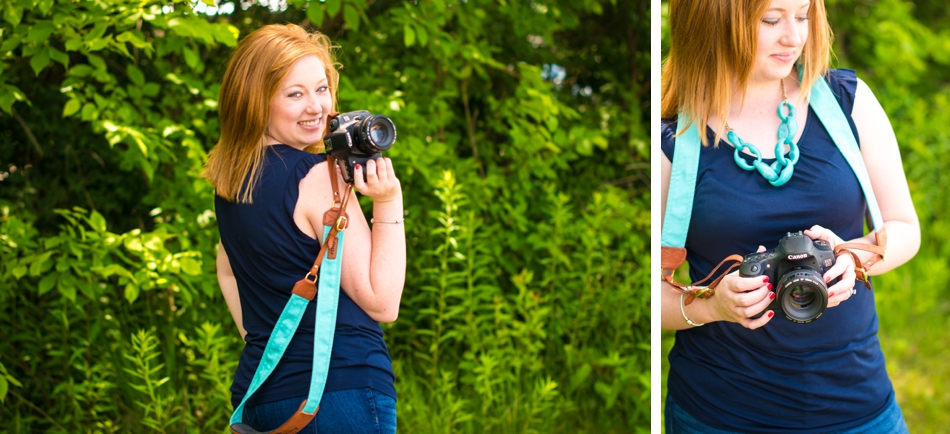
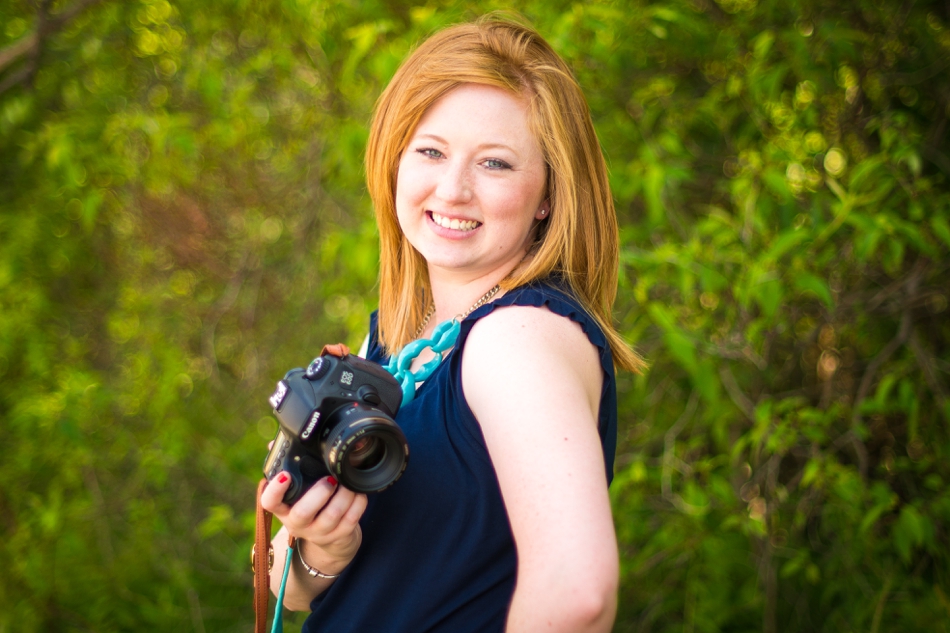
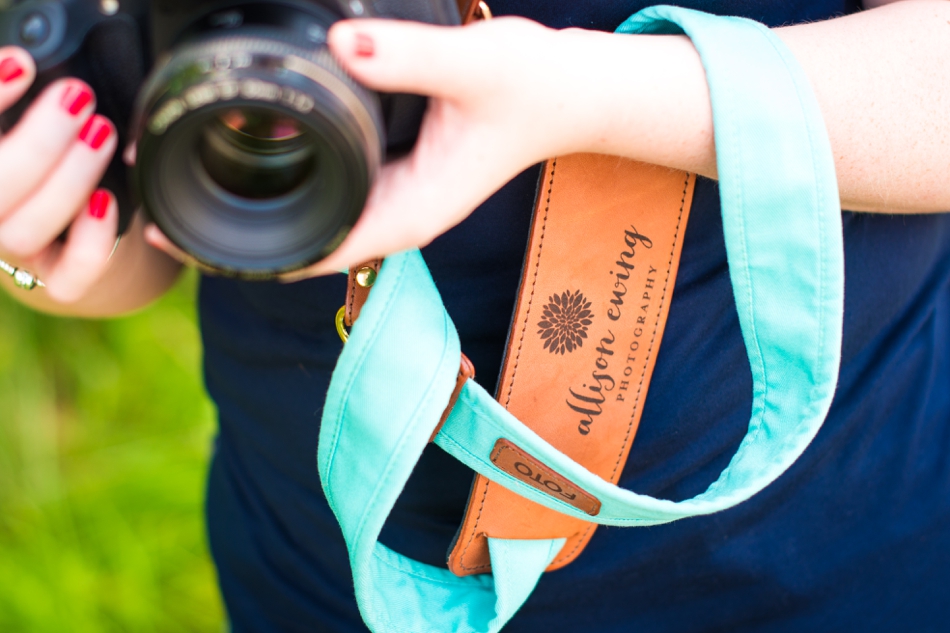
Isn’t her custom camera strap adorable?!
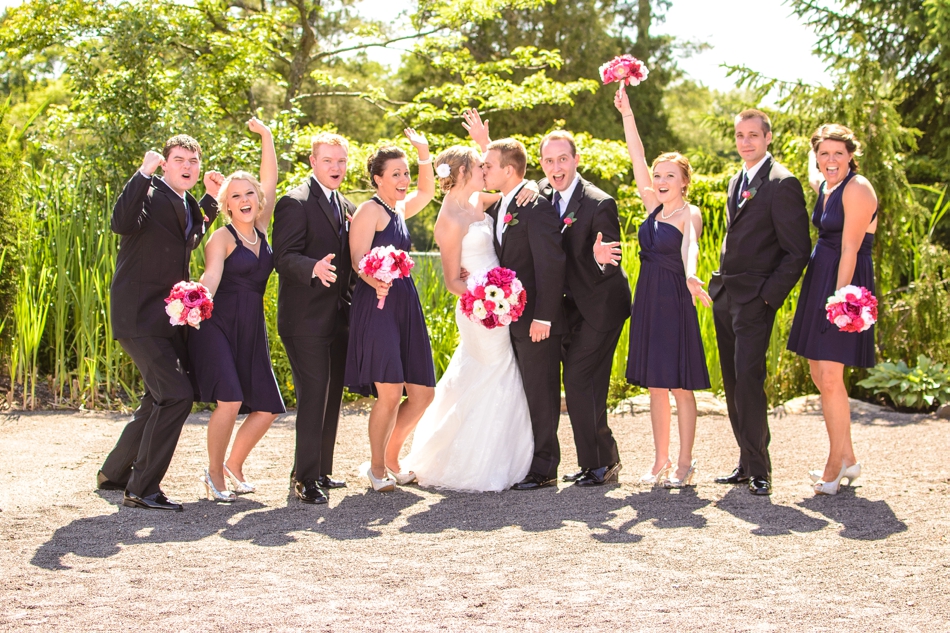
We took Lindsey and Shane’s bridal party portraits in the afternoon when the sun was incredibly harsh. I positioned them so the sun was behind them and the bright gravel in front of them reflected the light back into their faces to brighten them up.
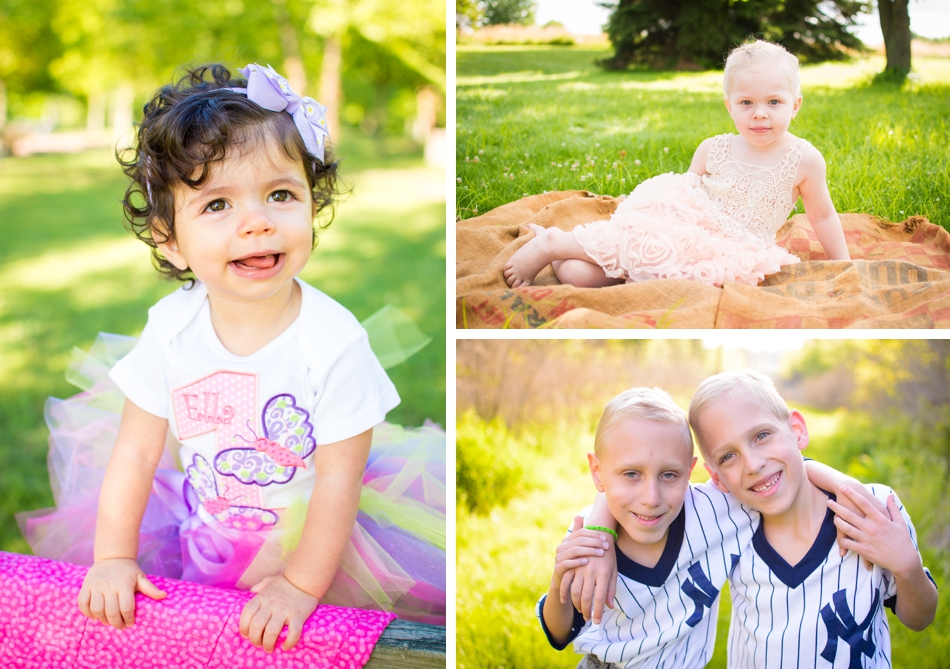
Three examples of using open shade! If you look in the background of all these portraits, you can see how spotty and overexposed the areas in the background are, where the light is not falling evenly. I placed my subjects under shaded areas where the light was even and exposed for their skin.
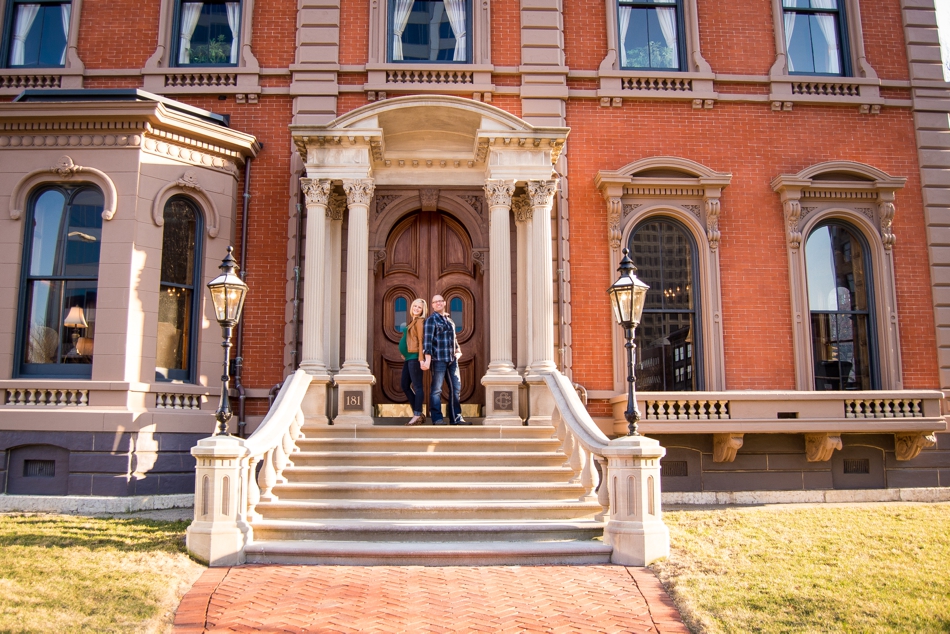
We really loved this building for Shawna and Jeremy’s maternity shoot, but you can see by the shadows that the sun is to the right of the building and casting shadows. I placed Jer and Shawna on the top of the steps in the shade of the pillars where the light was even and more flattering.
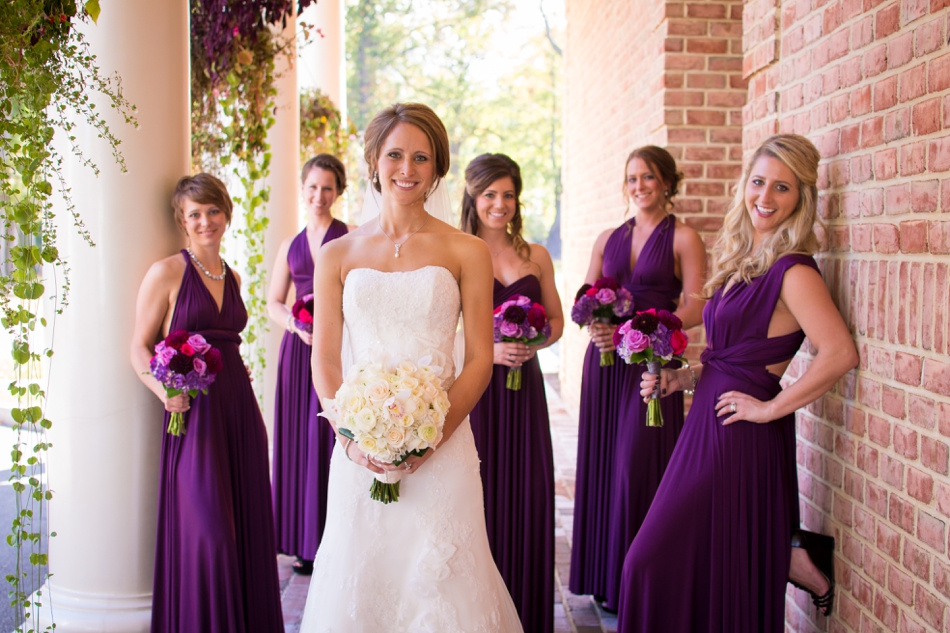
It was BRIGHT when we were taking Mandy’s bridal portraits with her girls, but I LOVED the brick and pillars on this building! I took the girls outside and placed them in the shade of the building – look behind them and you can see how overexposed the background is because it was so sunny out.